
In this blogpost we’ll help you through the first few hours of your arrival in Indonesia, telling you all you need to know about: obtaining a visa, sim-card and money
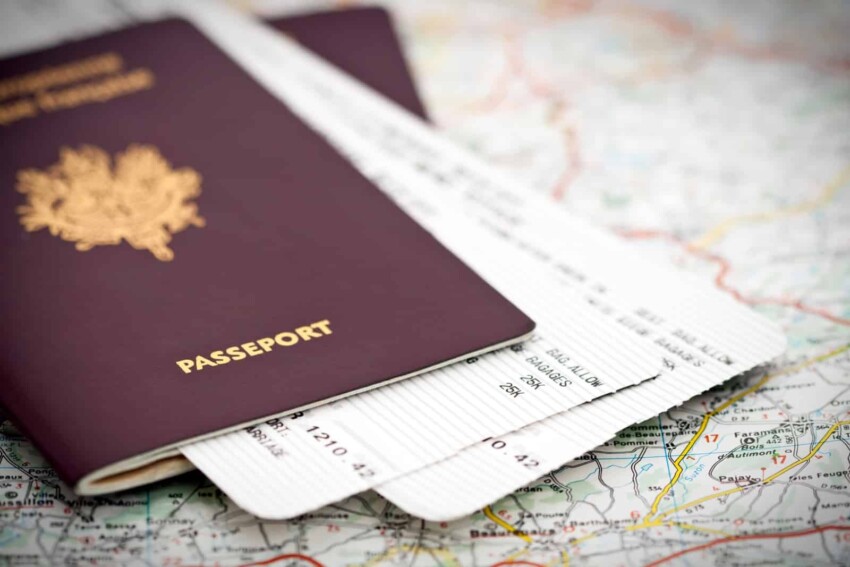
Navigating Visa Requirements for Traveling to Indonesia in 2023
With travel regulations evolving since the COVID-19 pandemic, we discovered conflicting information online about visa requirements for Indonesia. Many sources will tell you that you do not need a visa if you are staying less than thirty days, however, this has changed since 2019! We decided to share our recent visa application journey. Here’s a step-by-step guide to obtaining a Visa on Arrival for your trip to Indonesia.

When planning a trip to Indonesia it is important to check whether you need a visa. this may depend on your nationality. As citizens of a European Union country, we needed a visa to enter Indonesia, irrespective of our intended length of stay. Our trip was set for 21 days, prompting us to obtain a 30-day visa.


Two visa options are available: Visa on Arrival and EVOA (Electronic Visa on Arrival). We opted for the Visa on Arrival, a 30-day visa that can be obtained upon arrival at Soekharno Airport (and some other airports, but not all!). However, as first-timers in Indonesia, we found the visa application process at the airport to be quite confusing. The airport was really crowded, and the lines were long. Many people (including ourselves) were initially waiting in the wrong line and only realized this when having waited already for quite a while. To ensure that you won’t make the same mistake, we’ll walk you through our experience:

3 steps to obtain a Visa on Arrival at Soekharno Airport:
- Withdraw 500.000 Indonesian Rupiah to pay for your visa.
Upon arriving at Soekharno Airport, proceed to the “Immigration” section. On your immediate left, you’ll find ATM machines where you can withdraw the Indonesian Rupiah (IDR) needed to pay for the visa. The cost for one 30-day visa is 500.000 IDR. - Buy your Visa on Arrival
After obtaining the required cash, join the most right line to pay for your visa. The immigration officer will attach a purple visa on-arrival ticket to your passport and provide you with two additional tickets. - Show your Visa on Arrival
Next, proceed to the next left line, where you’ll hand over your passport and the two additional tickets to the immigration officer. They will check your passport and identity and may ask questions about your trip to Indonesia.
Passing through Customs
The last thing you have to do is go through customs. This was a slightly confusing process since (again) there were no english signs to help us out with the procedure. Before you go to the customs officer, you first have to scan a QR code and fill in the form that the QR code takes you to. This form asks some questions about your luggage. Show the customs officer that you filled in the form, and after this last check you can now continue to the exit, or first get yourself a simcard at the airport.

💡 Tip: You only have to fill in one form if you are travelling with family with the same last name. The form doesn’t allow for different last names.
Buying a Sim card
You can get a SIM card at Jakarta’s Soekarno-Hatta International Airport (CGK) easily upon your arrival. Once you arrive at Jakarta Airport, follow the signs to the baggage claim and immigration. Once you clear immigration, you’ll enter the arrival area. We arrived near terminal 3, and found a small kiosk selling multiple Indonesian cellular providers like Telkomsel, XL Axiata, Indosat Ooredoo, and IM3.

Telkomsel is one of the most popular simcard providers in Indonesia, known for their good coverage both on Java and Bali. However, we opted for an IM3 simcard as the Telkomsel simcards were sold out. We have no complaints about the IM3 network, and had good connection during our travels both in Java and Bali (except for when we were in the mountains).


Simply go to the counter and let the staff know that you want to purchase a SIM card. The staff will assist you in selecting the best SIM card and plan based on your needs. We paid 260,000 IDR for 12 gb of data. While you can get cheaper rates buying a simcard more locally, the advantage of of immediately being connected outweighed the roughly 5 euros difference for us.
💡 Tip: You can always get more data (or minutes if you’d like to make calls as well) if you run out of data.
When purchasing a SIM card, you will be required to provide your passport as identification. The staff needs this in order to register your SIM card, which is a legal requirement in Indonesia. The staff will insert and activate the SIM Card, and configure your phone’s settings for mobile data. Use your mobile data to ensure your SIM card is working properly before leaving the airport.
Money
ATM’s
When withdrawing money at an ATM in a foreign country, you pay transaction costs to the host bank for each withdrawal. In addition, your own bank often also charges extra costs per withdrawal. Typically, the costs per withdrawal from credit cards are (much) higher than from debit cards. It’s good to be mindful of your banks transaction costs, because those small fees can really add up by the end of your trip. A travel debit or credit card could be something to look into, as they often do not charge extra costs for withdrawing foreign currencies.


For safety reasons: Never carry all your cash in your wallet. Store your money in different places, (Some in your wallet, some in your bag, etc…) so you won’t be left with nothing if your wallet gets pickpocketed or if forget your bag somewhere.
Some tips for withdrawing money in Indonesia:
- Before you leave, don’t forget to activate your debit card at your bank for payments outside Europe; This function is disabled by default at most banks.
- Withdraw as much money as possible per transaction, to keep transaction costs to a minimum.
- Withdraw in the local currency instead of your own currency. This way your bank will do the conversion instead of the ATM, which tends to be more favourable.
- The highest bank notes are 100,000 IDR, which is approximately 6 euros. Keep this in mind when withdrawing money if you don’t want to carry around a big stack of cash.
- In Indonesia, the money comes out of the ATM first, then your bank card. Don’t forget your card!
Exchange Offices
You can also exchange money at exchange offices almost everywhere in Indonesian cities. Although you pay transaction costs when exchanging (just like when using a debit card), this rate is often more favorable than withdrawing cash from an ATM. One tip here is to bring bank notes of 50 euro/dollar or higher to get a better deal at the exchange office.

When we were in Jakarta, one of the money exchangers with the best rates was “VIP money changer” (Close by the Monas). However, as long as you go to a goverment recognised exchange office, it won’t matter that much which one you pick. For example, we exchanged 300 euros in the Grand West Indonesia mall. (There is an exchange office called Dua Sisi Money Changer one floor below the entrance). The difference compared to if we had exchanged at VIP money changer was about 2 euros.