
For adventurous souls seeking to witness the surreal beauty of Kawah Ijen, this guide will provide you with a step-by-step itinerary on how to get to this mystical destination and what to expect during the challenging hike. From reaching the trailhead to experiencing the incredible sights, we’ve got you covered.
Why you should visit Kawah Ijen
Kawah Ijen is a place of otherworldly beauty and a true natural wonder, offering several compelling reasons to visit:
- History Sacred to Locals: Kawah Ijen, also known as “Kawah Wurung” by locals, holds deep cultural significance. It is considered a sacred crater, and the myths and legends surrounding the place make it all the more intriguing. Visiting Kawah Ijen is not just about admiring nature; it’s also an opportunity to connect with the spiritual heritage of the area.
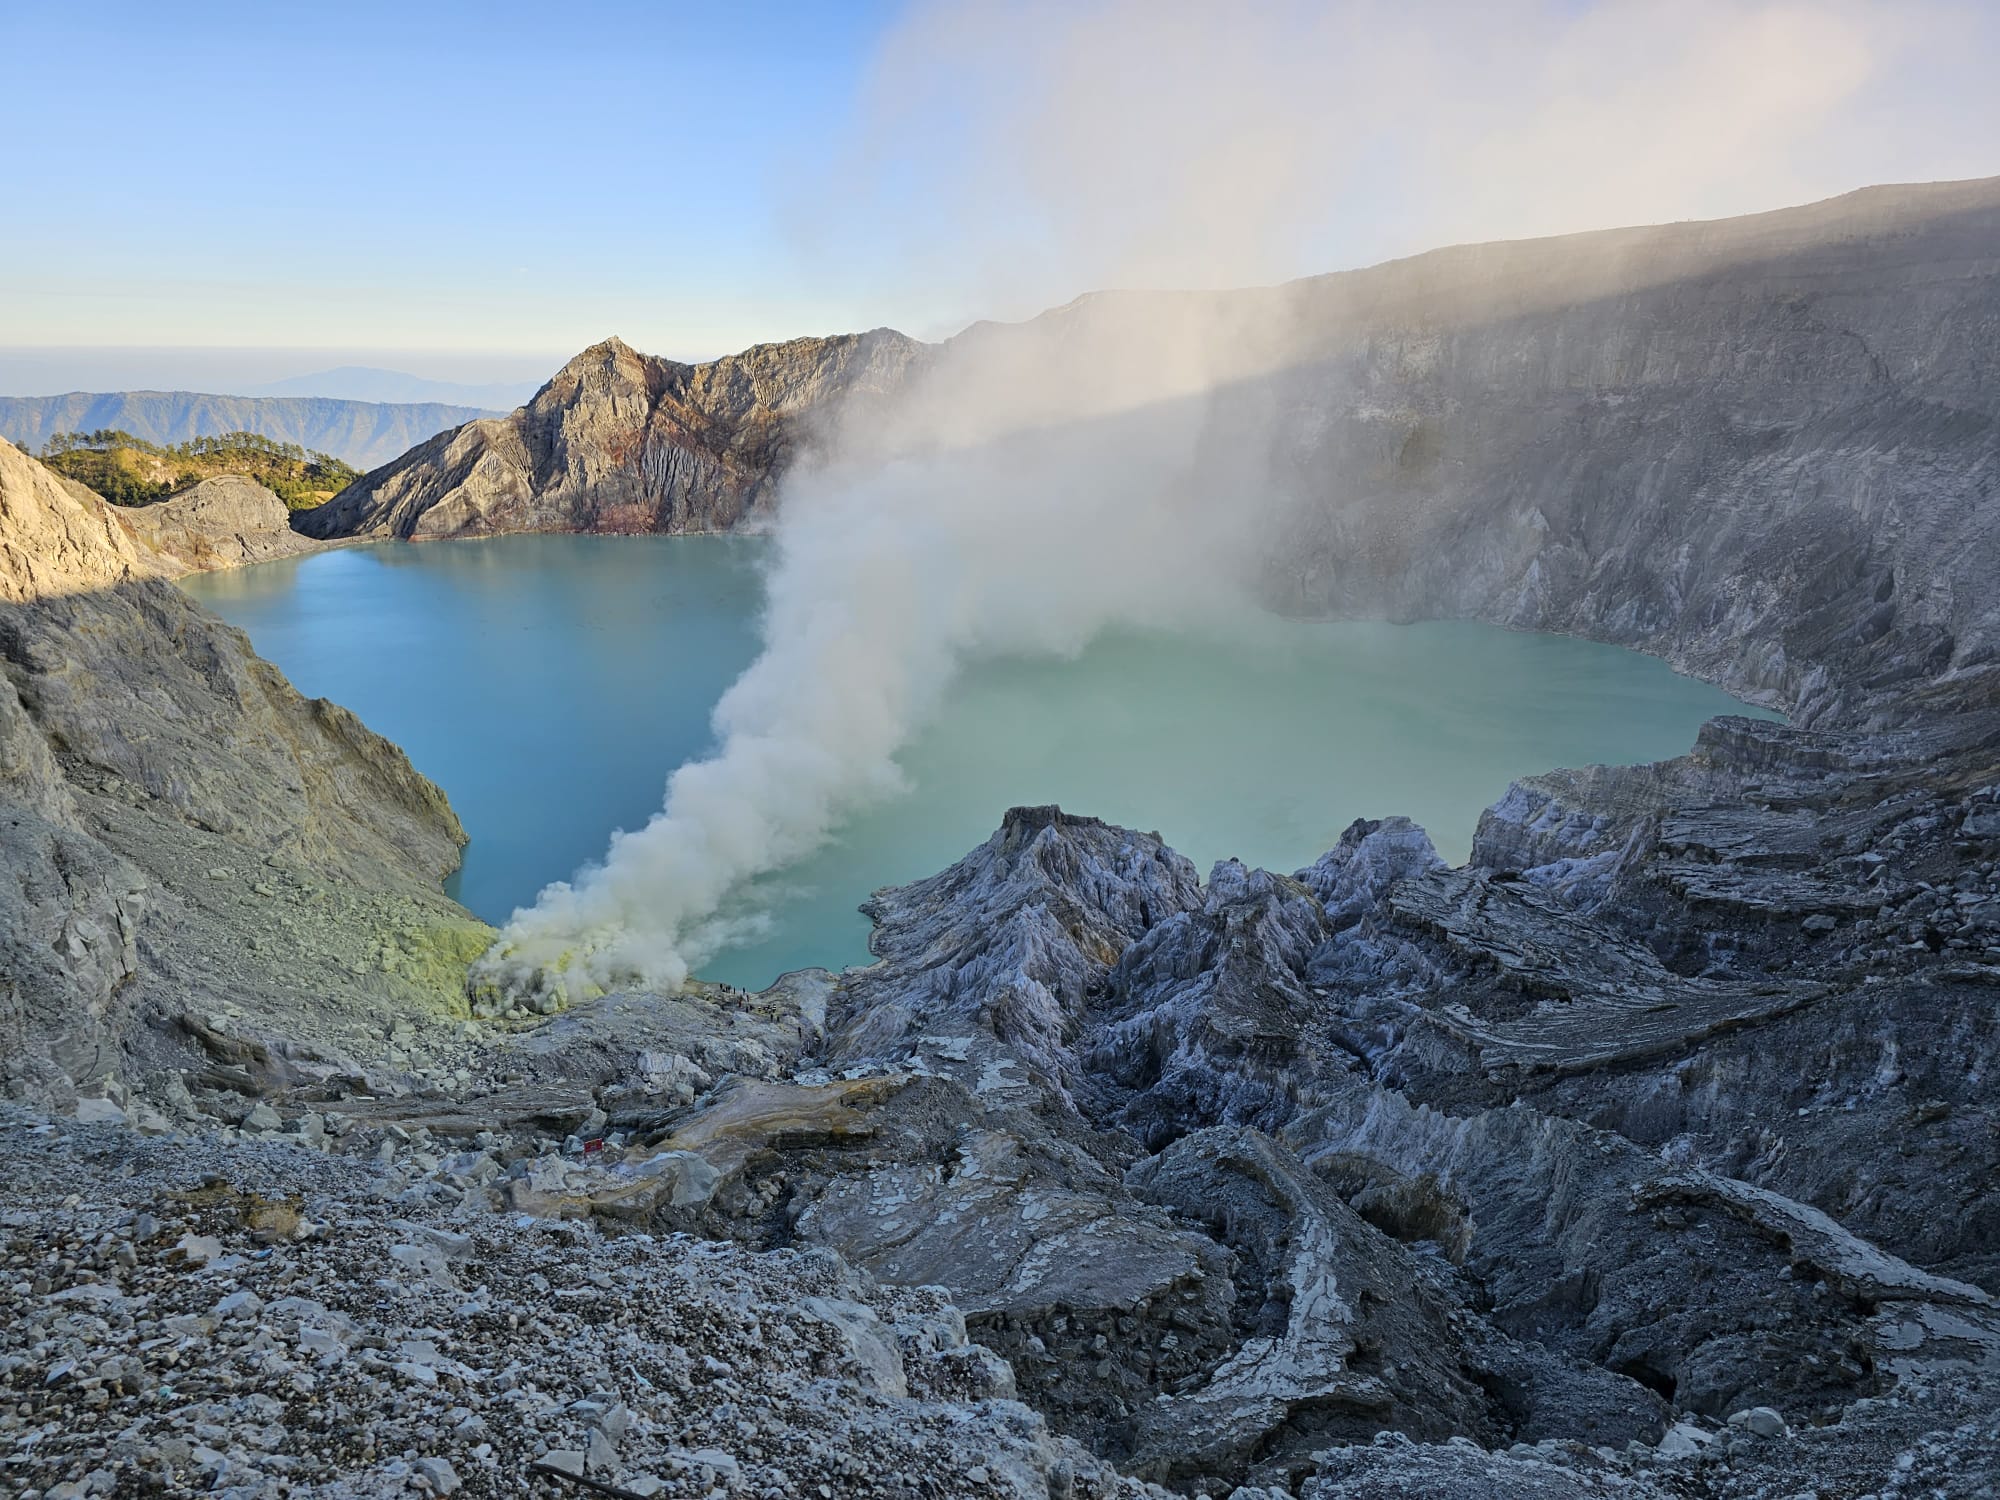
- Blue Flames, Sunrise, Beautiful Nature: The allure of Kawah Ijen extends beyond its sacred history. Here, you can witness the mesmerizing electric-blue flames, an otherworldly spectacle that can only be seen at night. As the sun rises, you’ll be treated to a breathtaking view of the turquoise lake, creating a stunning contrast to the eerie blue flames. The surrounding natural beauty, from lush forests to the volcanic landscape, makes this destination a visual feast for nature enthusiasts.

From Where You Can Visit:
Kawah Ijen is accessible from two main starting points:
- From Bali: You can reach Kawah Ijen from Bali by taking a ferry to Banyuwangi, a town in East Java. Once you arrive in Banyuwangi, you can arrange transportation to the Paltuding trailhead, which is the starting point for the hike to Kawah Ijen.
- From Java: If you’re already in Java, you can start your journey from the town of Bondowoso, also in East Java. Similar to the Bali route, you’ll need to organize transportation to Paltuding.
Costs
- Entrance Fee: The entrance fee to Ijen Crater was around 100,000 to 150,000 Indonesian Rupiah (IDR) for foreign tourists. For Indonesian citizens, the fee was considerably lower, usually around 5,000 to 15,000 IDR.
- Guide Fee: Hiring a local guide for the Ijen hike is recommended, especially if you plan to do it at night or if you want someone to show you around. The guide fee can range from 150,000 to 300,000 IDR or more, depending on the services provided.
- Gas Mask Rental: Ijen is known for its sulfur fumes, so many visitors opt to rent gas masks for safety. Rental fees for gas masks typically range from 50,000 to 100,000 IDR.
Preparing for the trip
What to Wear
If you want to see Ijen’s Blue Fire, you’ll have to start hiking in the early night hours. It can get really cold in the mountains, especially in the night. However, the temperatures will start to rise quickly when the sun comes out.
To adapt to these changing temperatures, we suggest you wear the following:
1. Base layer: Light weight t-shirt, sports leggings
2. Mid layer: long sleeve and hiking pants
3. Outer layer: A warm sweater or cardigan, and an extra pair of pants.
4. Extra: Some lightweight gloves, and optionally a beanie and scarf.
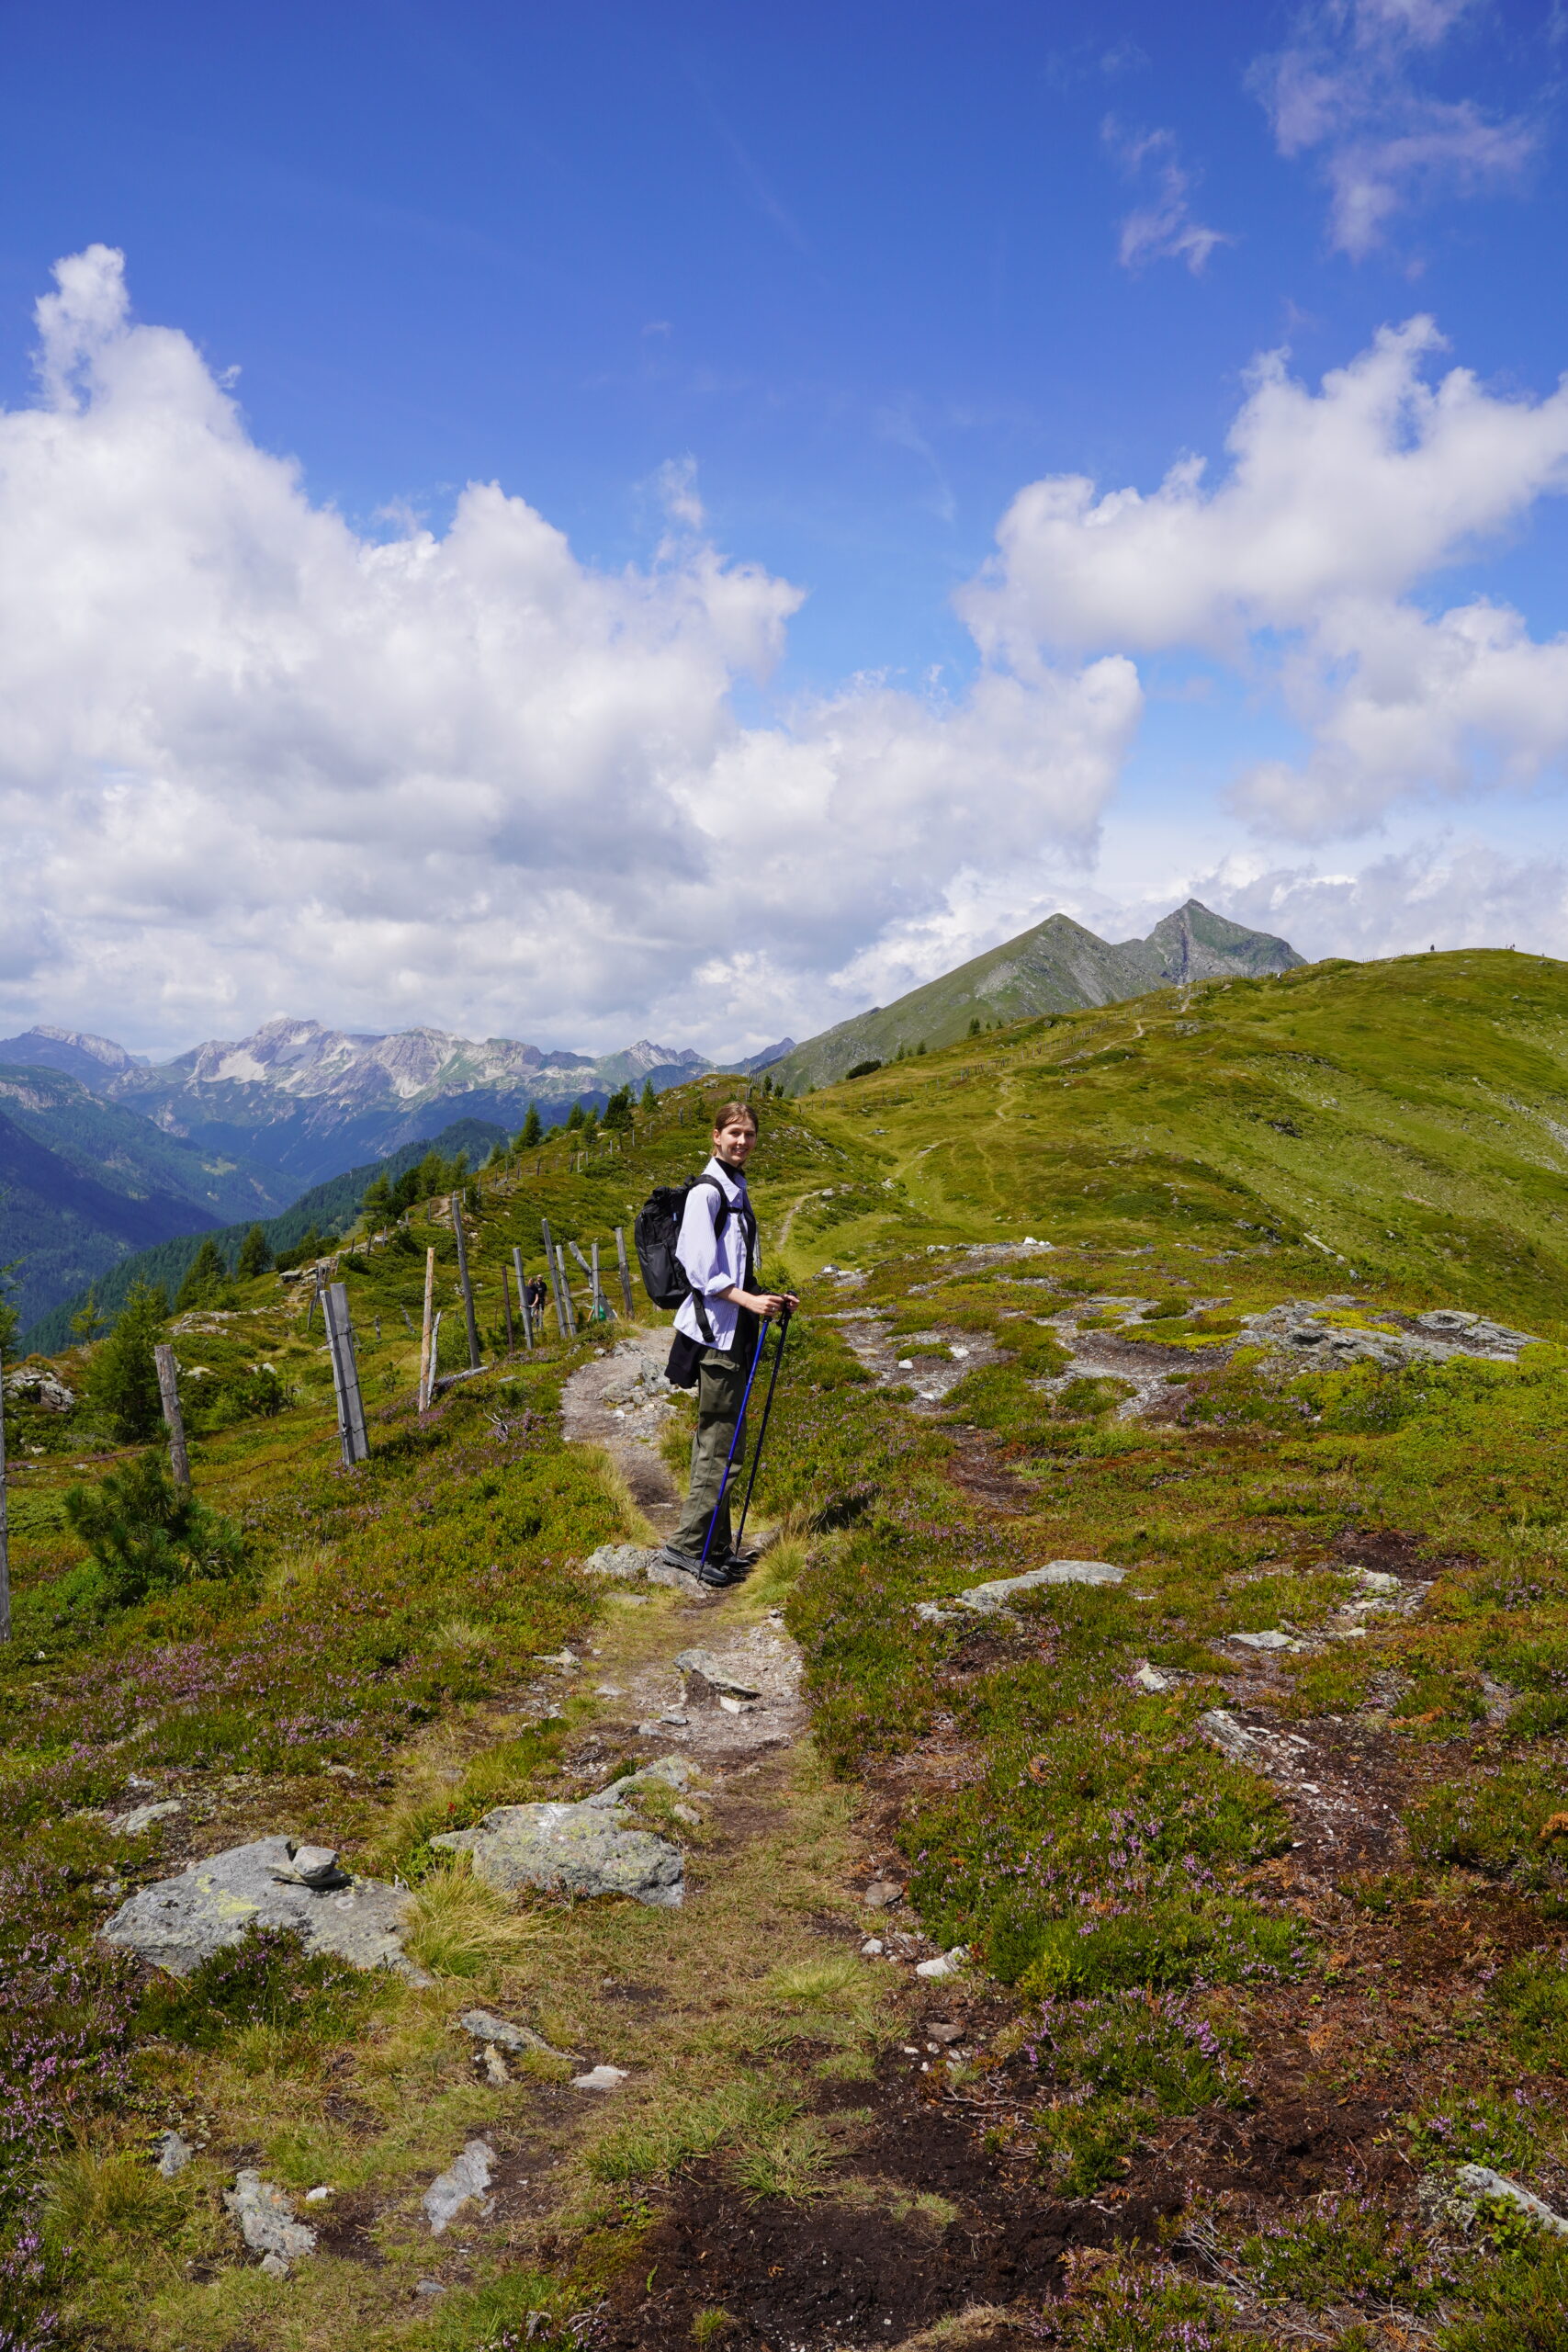
For footwear we recommend some hiking boots with good profile. While we’ve seen local people walk the path on flip flops, we were very happy to have our hiking boots with us as the path is steep and quite slippery because of all the loose sand. We witnessed many people falling. Having some hiking boots with good ankle support will make your hike much more comfortable. In addition, wear some thick hiking socks to keep your feet warm, and blister free.


What to bring
- A small to medium-sized backpack: Bring a backpack that is lightweight and comfortable to wear. It should be big enough for you to put in all the extra layers of clothing that you won’t need anymore when the sun comes out.
- Water bottle and plenty of snacks: Staying hydrated and well-nourished is crucial during your hike. We brought breakfast, fruit and some energy bars.
- Headlamp: You’ll begin your hike around midnight, when it will still be really dark. The terrain can be challenging in low-light conditions. A headlamp ensures you can see where you’re going and keeps your hands free for support while navigating tricky paths.
- Sunglasses: When the sun finally comes out you’ll be needing these.
- Camera and Tripod: Kawah Ijen offers stunning views and the opportunity to capture incredible moments, so a camera and tripod are great for taking memorable photos.
- Powerbank: You’ll likely use your electronic devices, such as smartphones or cameras, extensively. A power bank ensures you can recharge these devices and stay connected or capture photos throughout your visit.
- Lipbalm: The air can be dry, and exposure to different elements can cause chapped lips. Lip balm helps keep your lips moisturized and comfortable.
- Cash: Bring enough cash to cover parking fees, entry ticket, guide fee, and a potential snack. Along the way there are some stops where you can buy a warm cup of tea, or noodle soup.
- Hiking sticks: Hiking sticks can provide additional stability and support, especially during steep ascents and descents. They can reduce strain on your knees and improve your balance while navigating the rugged terrain at Kawah Ijen.
💡 Tip: There is no need to bring a gas mask, these are available for rent before you start your ascent.

The Hike: Our Experience
The hike to Kawah Ijen is an adventure you’ll never forget. The trek to the crater rim covers approximately 2.2 miles (3.6 kilometers) and includes steep ascents and descents. If you are lucky, you will be able to witness the ethereal blue flames at night, followed by a stunning sunrise over the turquoise lake in the early morning.
The first part of the hike lasts about 1-1.5 hours, starting from the Kawah Ijen parking lot and leading right up to the edge of the volcano’s crater. It begins with a wide and straight path, like a dirt road without any rocks, winding its way up the steep slope for about an hour. The last 30 minutes of the hike are easier because the path levels out and isn’t as steep.


Once you reach the top of the crater, you normally will hike down into the crater to get a glimpse of the blue flames. However, when we went the conditions were too dangerous to head down, so instead we walked further along the top of the crater to watch the sunrise.


After enjoying the views of the crater lake, we were able to head down to the crater to look at the sulfur mines. You’re guide will tell you to put your gas mask on as you descend about 150 meters following a steep and uneven path. Be careful because you can slip easily here!
When you’re heading down, make sure you step aside if you see mineworkers carrying sulfur coming up. These miners make the same hike 3/4 times a day, carrying 40-70KG on their shoulders, only earning 900 IDR (0.05 euro) per kilo for that.
💡 Tip: If you would like to support the miners, consider buying a sulfur souvernir from them.


Because of tourism, many mineworkers have been able to become tourguides which is a much healthier and better earning occupation for them.
When you are at the bottom, the view of the bright blue crater lake is truly mesmerizing. Be sure to take some pictures of the outerworldy scenery.